Last time in Django: Getting Started we covered virtual environments and their installation. We used Pycharm’s IDE and git version control to work on our project and track our changes. We started our project with Django admin and covered what goes into a Django project. We also learned a little bit about Django’s MTV design pattern and how it differs from the traditional MVC pattern. Now that we understand what the MTV pattern is, we’re going to put that knowledge to use!

Virtual Environment:
Before you dive in don’t forget to restart your virtual environment using the workon command in the terminal:
workon bmm
You should now see the virtual environment listed in parenthesis before your user name. If you used a different name for your working environment and you can’t remember what name it was, use either the b(rief) or l(ong) commands to list the virtualenvs on your machine:
lsvirtualenv -b
lsvirtualenv -l
Models and Migrations:
Last time we defined the Model as containing our database and data. You may have used databases like MySQL or PostgresSQL before in other projects. Django as a default uses SQLite. We will be using the default database for this tutorial, but the database could always be changed at a later stage if necessary. If you would like to go ahead and use a different database back-end, Django has a short guide which you may find helpful.
To start with lets have a look at the settings.py file. Open up your project in PyCharm and under the app level bmm2 folder, select settings.py. Scroll down in the file until you see DATABASES in all caps.
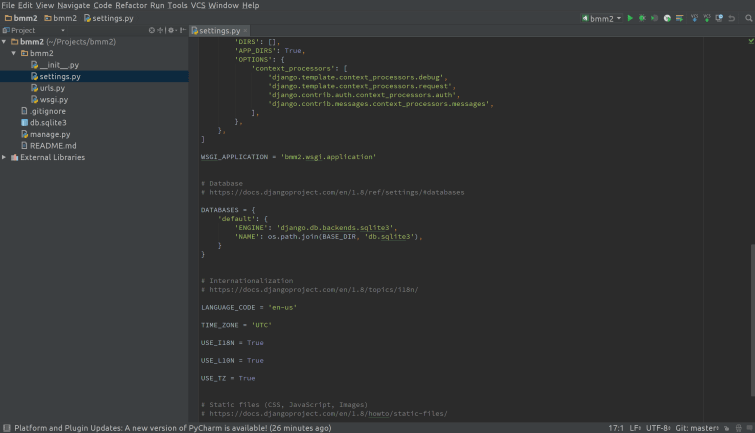
Now that we know what database we’re using it’s time to do our first migration. Migrations can also be called ‘schema evolutions’ or ‘mutations’. The basic function of a migration is to apply changes to your database from one version to another. In Django you run a migration any time you make a new model, change or add a field to a model, or even deleting (dropping) a model. If you want to understand more about what happens in Django when you run a migration, check out the documentation here.
An example: we are mapping the British Museum. In order to do this, we want to make a database of the museum. One of the tables in the database will need to be details of the museum’s rooms. This table of rooms will be our first model. The model for rooms will contain each room’s name and any other relevant details. We would do a migration after we created the model rooms (something we will cover later) and another if we added a field later, such as a field detailing when the room was opened to the public.
Initial Migration:
Before we create any project specific models however we need to run our initial migration. This initial migration creates our database automatically. To run the migration we use a command written into the manage.py file Django admin created for us at the start of the project.
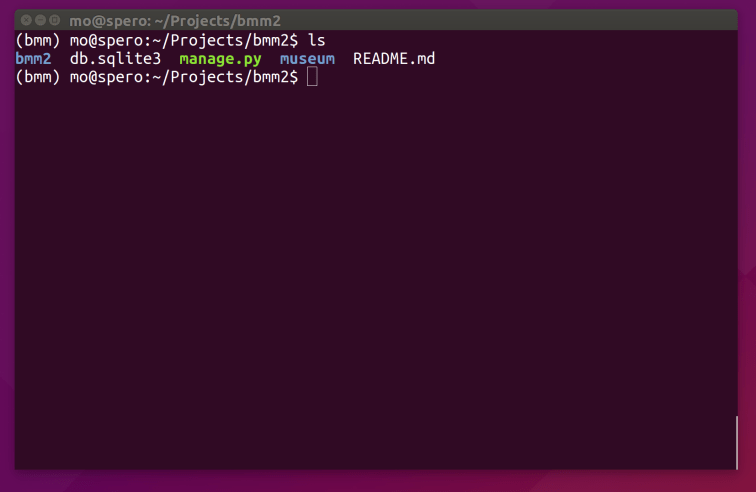
In your terminal change directories so you are in the project (top) level bmm2. If you list the contents (ls command) you will see your app level bmm2 and a file called manage.py. If you are using Django version 1.8 or above you should see the manage.py file in green.
This green text means the file is executable. When a Python file is not executable you would need to type in more information to run the command you need. It is easier and more convenient to work with the file as an executable. If your file is not in green or is not an executable you should make it one before moving on in the tutorial.
If your file is already executable feel free to skip down to ‘The First Migration’ section! If not you can use a command called ‘chmod +x’ or ‘change file mode for all flags.’ This command will allow the file to be executed by both yourself and other users:
chmod +x manage.py
The First Migration:
In your terminal you should be in the project (top) level bmm2 directory. Because your manage.py file is excutable we can run the intial migrate command using ‘./’:
./manage.py migrate
Your terminal should now look a little something like this:
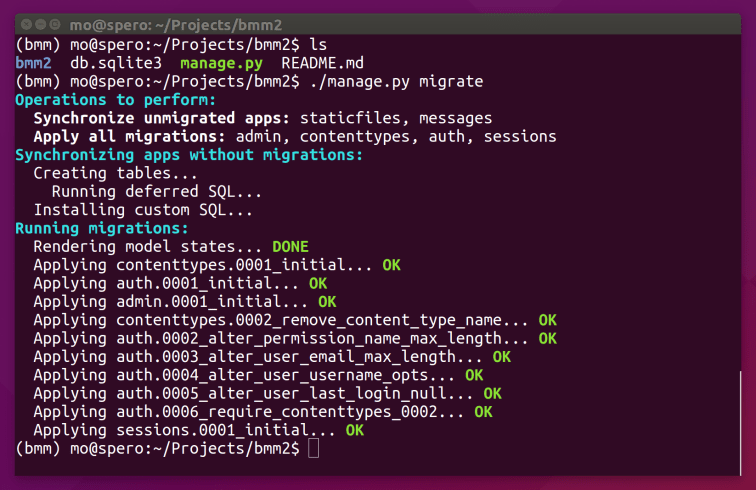
One command and a lot has happened behind the scenes in Django’s admin! Both authorization and administration tables have been created, as well as several other automatic migrations Django takes care of for you. When people talk about powerful tools that save you time and launch projects quickly, this is what they are talking about!
Launching the Development Server:
So now that you’ve created a database using your first Django migration let’s launch our server and see what Django has built for us! We launch the development server using another built in Django command in the manage.py file:
./manage.py runserver
If all goes well your terminal should look like this:
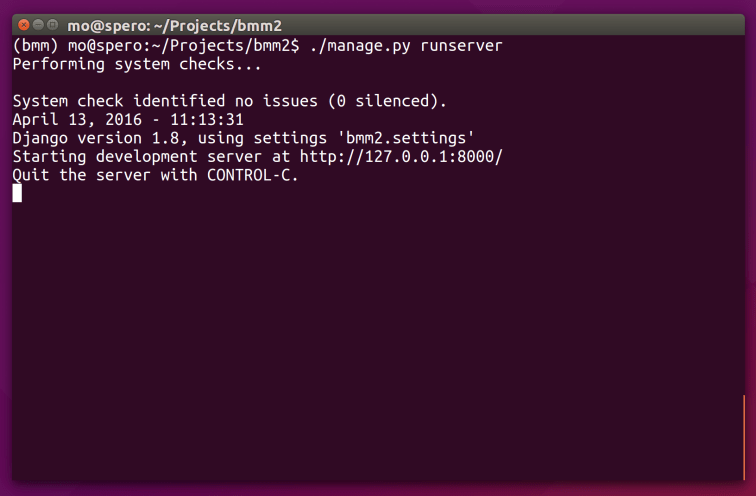
The address supplied after ‘Starting development server at’ can be copy pasted into your browser’s address bar. When the server is running the page should display the following:
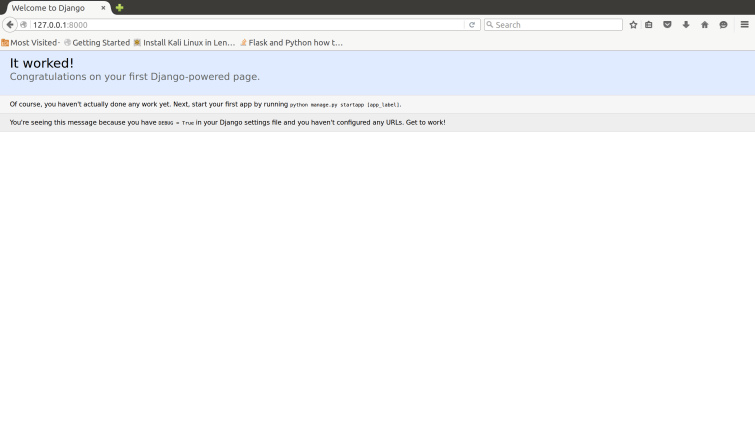
If everything went fine and you see the ‘It worked!’ Message then congratulations!

If you instead are seeing an error message or nothing at all there could be many reasons for this. I could never even begin to cover what it might be here, but that doesn’t mean the end for you. There are many resources out there to help you. Before you give up try googling the specific error message or problem you are having, check the results (especially any stack overflow links) and give it your best shot. Once your back on track just jump back into the tutorial where you left off!
Museum Application:
Before we move any further with MTV, we are going to create another application. Right now we have our app level bmm2 directory which is our main application. We could work in this application but we know that we want to make a catalog of the museum’s rooms and objects. So we are going to create another app level directory called museum using the manage.py startapp command:
./manage.py startapp museum
Back in PyCharm you can see a new app level directory has been created called museum. Inside are several empty files which we will use later.
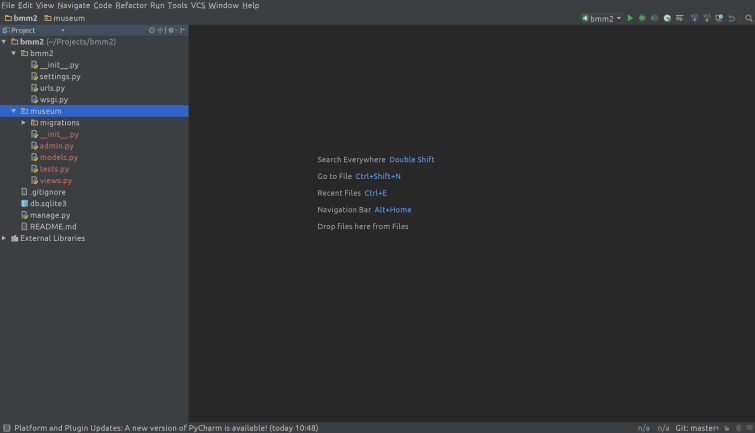
As you can see the files are in red as the directory is currently untracked by our git version control. If you can’t remember how to add it, go back to Django: Getting Started and read the section on Pycharm and Git again.
We are tracking the app through git, but now we need to tell Django about it. To do this open up the settings.py file under the app level bmm2 directory in PyCharm. There is a section called INSTALLED_APPS, we need to add the museum app here so that Django is aware of it. You do this by adding ‘museum’, like so:
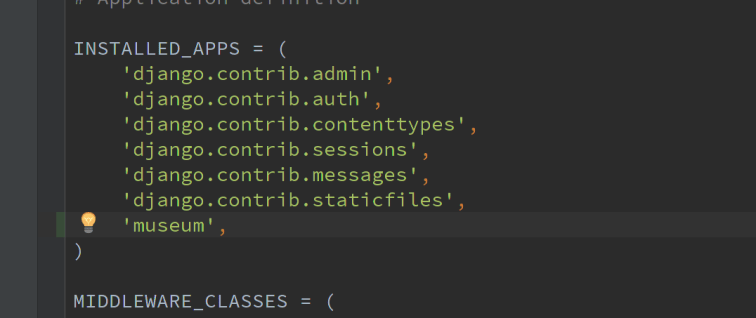
You can close the settings.py file once you’ve added the museum app to the list of installed apps.
First View:
Now that we have our museum application we can create our first View! Remember the View is what will essentially serve as a middleman between our Models and Templates. We will create our first View in the view.py file under the museum app.
We are going to create our index first, which will essentially serve as the landing page for our app. Open the views.py file and enter the following simple function:
def index(request):

return render(request, 'template.html')
Now that we have a view which is set-up to return and render an HTML file, we need to make a Template for the view to work with.
First Template:
First we need to create a new directory for the templates to go in under the museum app:
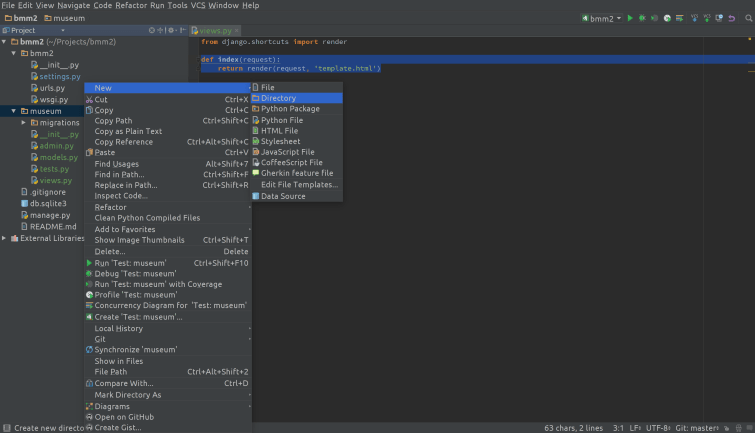
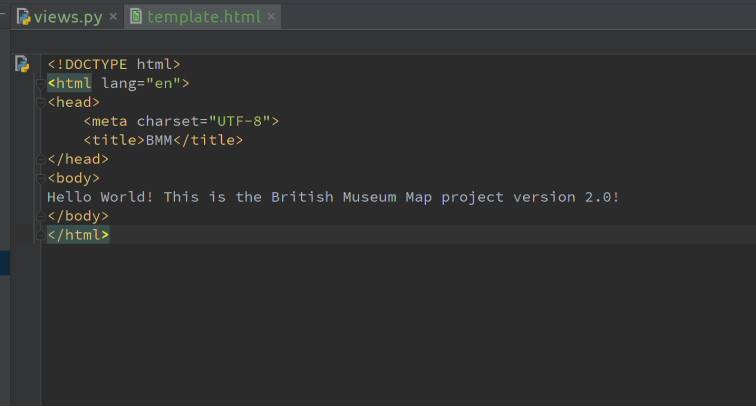
Call the directory templates. Now create a file under here called template.html. You will likely be asked if you want to add this newly created file to Git, generally the answer should be yes unless you have a specific reason not to. The file will open automatically in PyCharm and you will see the basic contents of any HTML file have been added automatically.
We are going to edit this file a little bit, by adding BMM to the <title> and Hello World! This is the British Museum Map project version 2.0! to the <body>.
Django, Views, and urls.py:
So now we have our Model, Template, and a View we should be good to go right?

We may have all the pieces but if you launched the dev server now and visited the landing page, you wouldn’t see the index file we just created. This is because we haven’t told Django the ‘route’ that points to this view yet. We do this by modfying the urls.py file under the app level bmm2.
Open this up in PyCharm and you will see there are some examples and an admin url already within the file. Django uses URL configuration to match whatever URL the user provides to the correct view. We will need to provide Django with some information about our view so it can be found. Enter the following into the urls.py file:
url(r'^$', 'museum.views.index', name='index'),
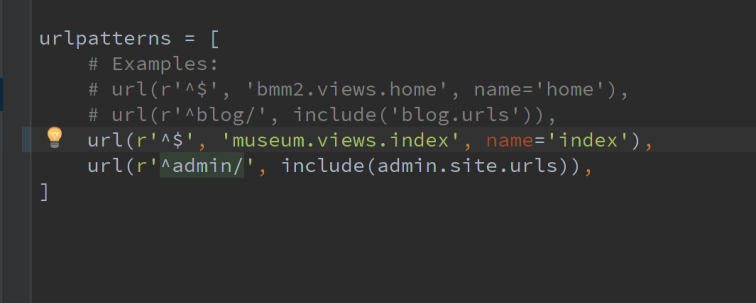
We are calling a function already built into Django, url, which takes a least two parameters. First we supply the pattern to match, r’^$’, and second details of the view users should be directed to, ‘museum.views.index’. We have also included a third parameter, name=’index’, which simply specifies the name of the view.
Return to your terminal and run the development server once again:
./manage.py runserver
If you return to your browser and reload the specified address you should now see the text we entered into our template.html file displayed on the main body of the page!

This Time and Next Time:
We created all the parts of our Model View Template design pattern, pointed Django to the right view, and launched our development server to see what we have created so far. We also created another app within our project folder and changed some of the files within.
Next time were going to make some more useful templates and views. As well as delve more deeply into databases, models, and migrations in Django. Until then play around with making some basic templates and views and see if you can get Django to display them. Just be sure to add a ‘/nameofview’ to the end of your address in the browser or you will only ever see the index landing page!
